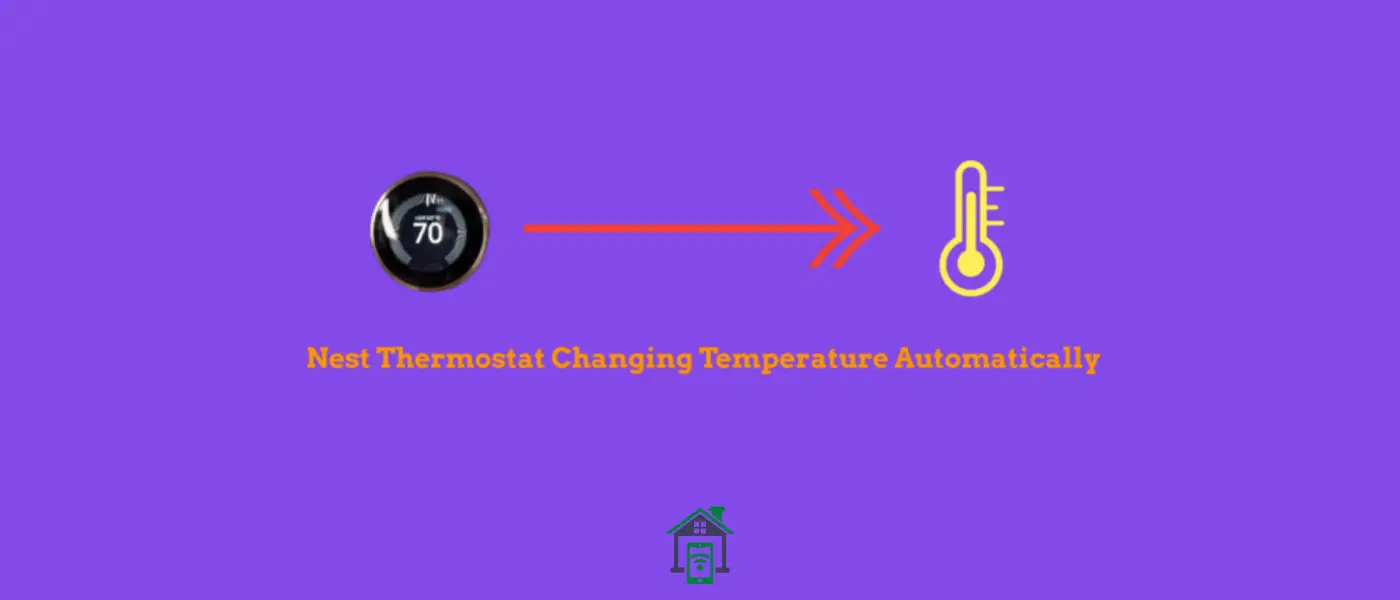
Many users find this auto-changing temperature feature annoying as it cannot work the way per user liking. This feature works with the help of motion detectors to keep track of user presence in the home.
Like, how often user change the temperature on the thermostat? It saves the collected data and activates the auto-schedule feature to further adjust the temperature accordingly.
Here comes the problem with this auto-schedule feature, for example, the user is in the basement area of a home, so the chances are it won’t be able to detect the user’s presence.
The thermostat will adjust the temperature based on previous adjustments without keeping the user’s presence into account and hence the temperature as required for the user will not be maintained.
This feature tends to annoy most users and hence they prefer to disable this feature to make the thermostat to manually adjust the temperature.
There are 3 things, you need to do to stop your thermostat from changing the temperature. First of all, you need to access the “Home/Away Assist” and disable this feature.
1. Disable Home/Away Assist
Here’s how you can do that,
- Head over to “Settings” on your Nest thermostat.
- Next, tap the “Home/Away Assist” option.
- Finally, select the “STOP USING” option to disable it.
To completely disable the auto-schedule feature on your Nest thermostat, you will need to reset it to erase the auto-schedule data.
2. Reset Auto-Schedule
- Head over to “Settings” on your Nest thermostat.
- Next, scroll to the end and select “Reset”.
- Further, select “Auto-Schedule” and then press “Reset”.
- Now, Rotate the “Ring” to confirm and wait for the process to complete.
Once, the process finishes, your Nest thermostat will restart. After that, you will need to disable the Auto-Schedule feature.
3. Disable Auto-Schedule
- Head over to “Settings” on your Nest thermostat.
- Next, tap the “Nest Sense” option.
- Further, select the “Auto-Schedule” option.
- Now, tap the “OFF” option.
- Finally, press “Done” to confirm.
You can also use the “Nest app” on your mobile to Turn OFF the auto-schedule feature on your Nest thermostat.
- Launch the Nest app and then select the Nest thermostat.
- Further, choose “Settings” and then “Auto-Schedule”.
- Finally, disable the “Auto-Schedule” feature.
Conclusion
If you are affected by the Nest thermostat smart auto-schedule feature and want to stop it from changing the temperature automatically, then you will need to erase the auto-schedule data in the first place.
On your Nest thermostat, “Settings->Reset->Auto-Schedule->Reset”. Finally, turn the RING to confirm.
After that, disable the Auto-Schedule feature in the Nest Sense “Settings->Nest Sense->Auto-Schedule->OFF”. Finally, press “Done” to confirm.